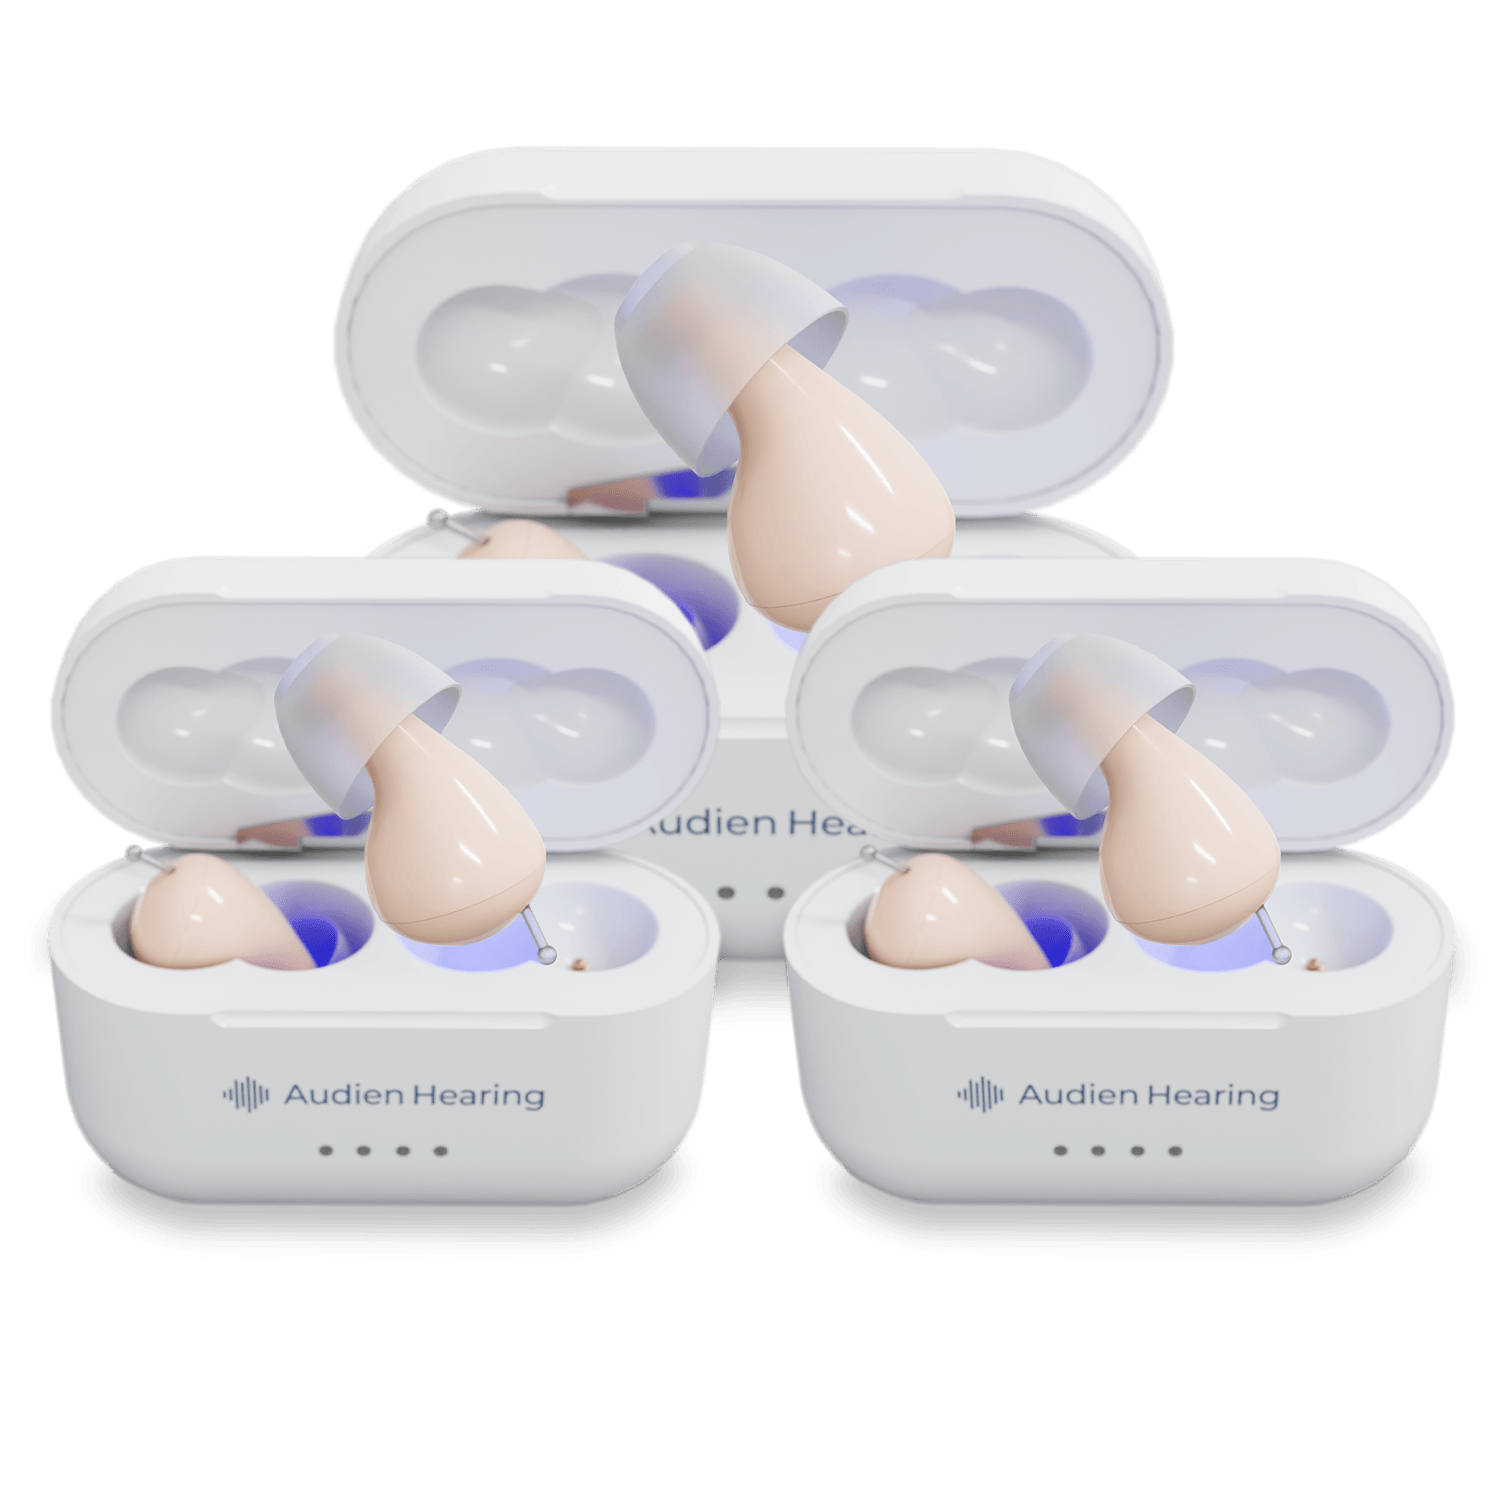
If you are like the millions of people who struggle with hearing loss, then you know that these small devices are helpful in more ways than one. They are efficient, technologically advanced, even life-changing — however, there is one thing that they are not — and that’s inexpensive! In fact, hearing aids can cost upwards of thousands and thousands of dollars.

These high costs come from a multitude of reasons. For someone managing hearing loss, expenses may include appointments with ear, nose, and throat doctors or audiologists, as well as a series of diagnostic tests. While private insurance may offer partial coverage, the total out-of-pocket costs can still be significant — sometimes totaling thousands of dollars.
All of this is to say: your hearing aids represent a substantial financial commitment. Add to this the fact that most hearing aids are not covered by private insurance. Medicare does not currently cover hearing aids, and Medicaid coverage varies by state, meaning some individuals may have access to coverage while others may not.
This makes it all the more important that, once you receive your hearing aids, you take steps to ensure they last as long as possible. There are multiple ways to preserve the life of your hearing aids: storing them in a safe place, avoiding exposure to moisture and extreme temperatures, and following the manufacturer’s usage instructions. Protecting them from physical damage and handling them with care are also key.
However, the number one way to extend the life of your hearing aids is to clean them regularly and thoroughly. Daily cleaning is one of the best habits you can build to keep your devices in good condition — and this is everything you need to know about how to do it properly.
What Tools Do I Need?
Adapting to life with hearing aids comes with a learning curve. For many, the process of managing hearing loss can feel overwhelming — but the good news is that cleaning and maintaining your hearing aids is relatively simple. Whether you’re wearing them yourself or caring for someone else who does — like a child or an older adult — this is a routine that can be learned quickly.
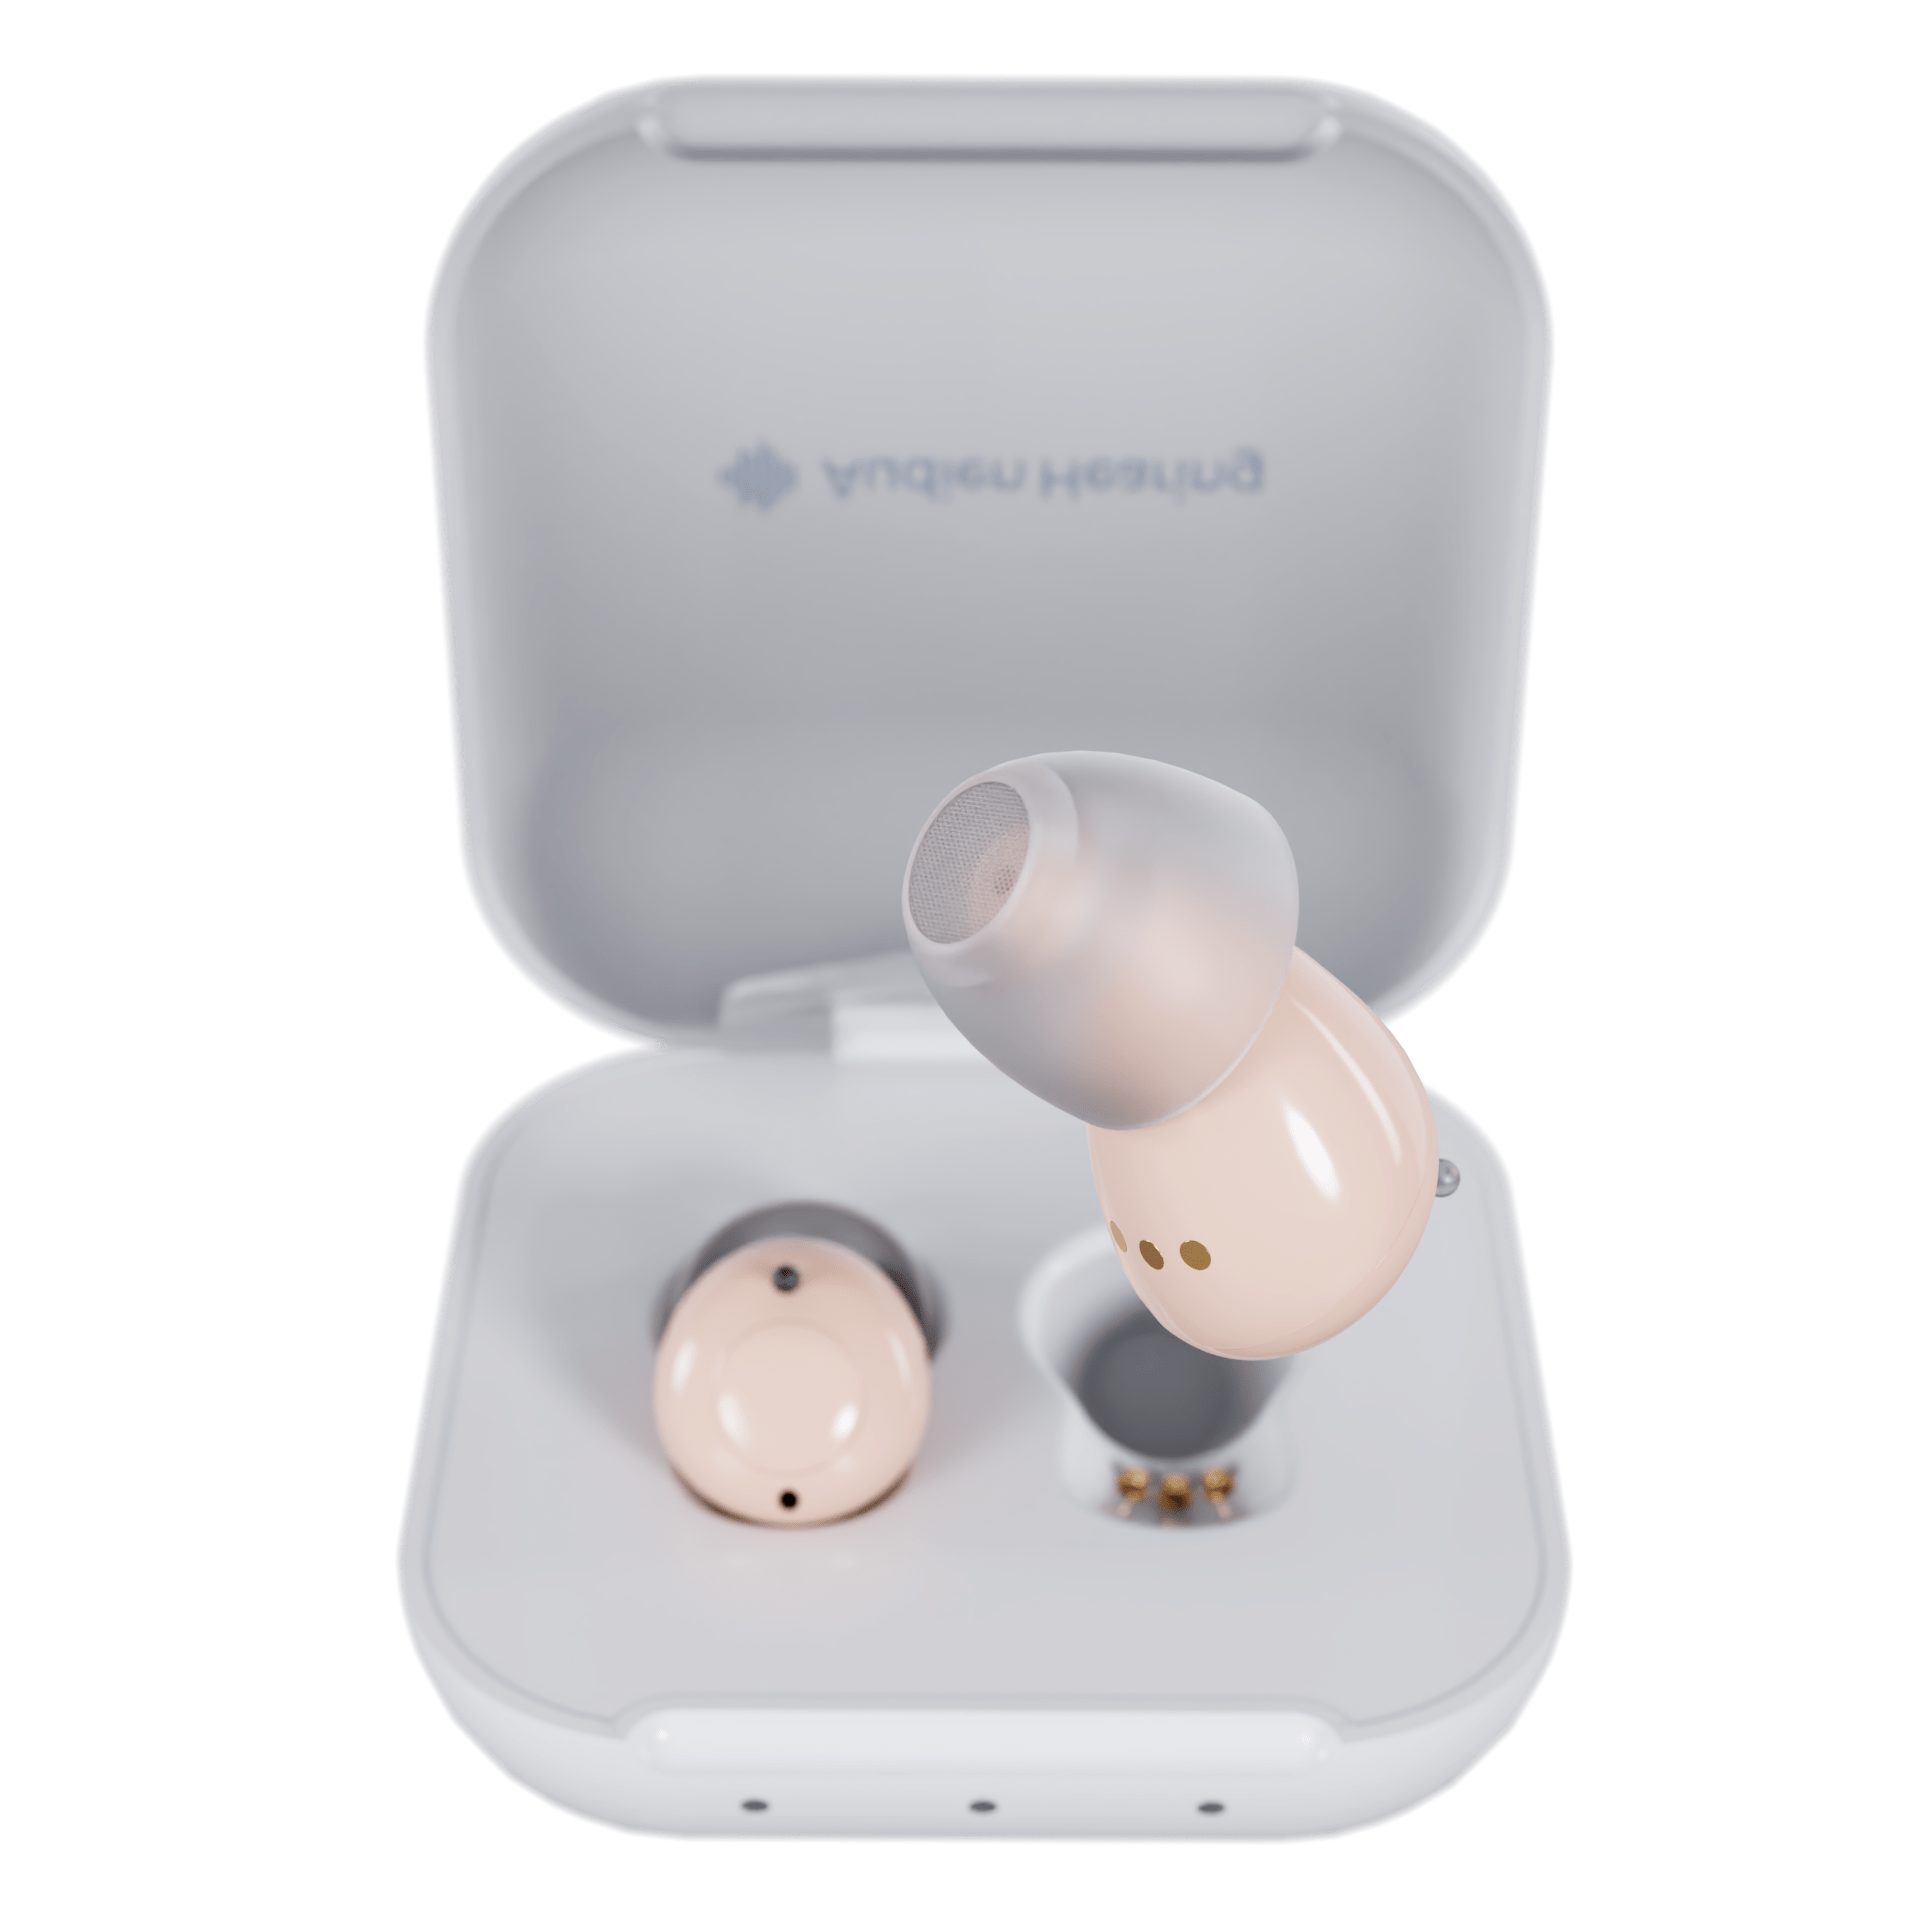
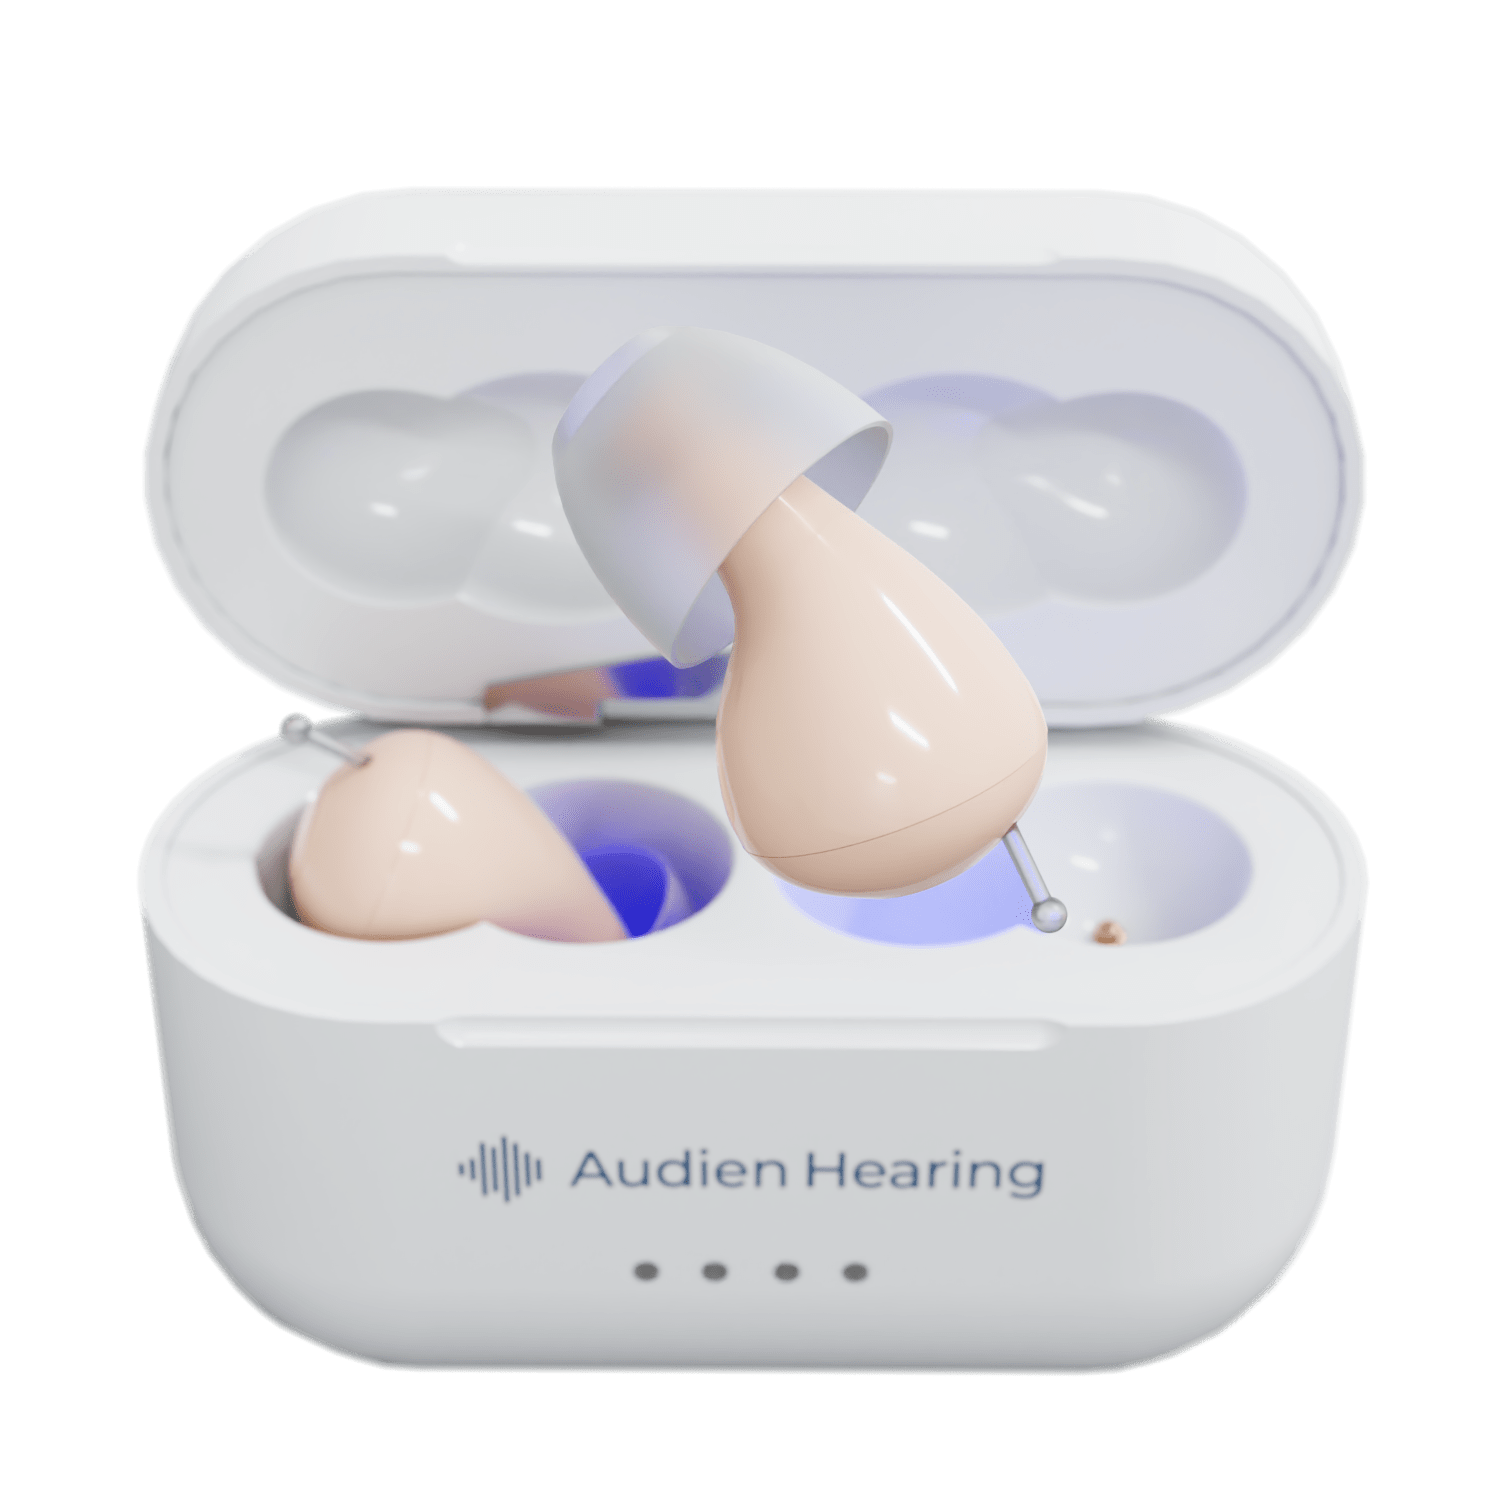
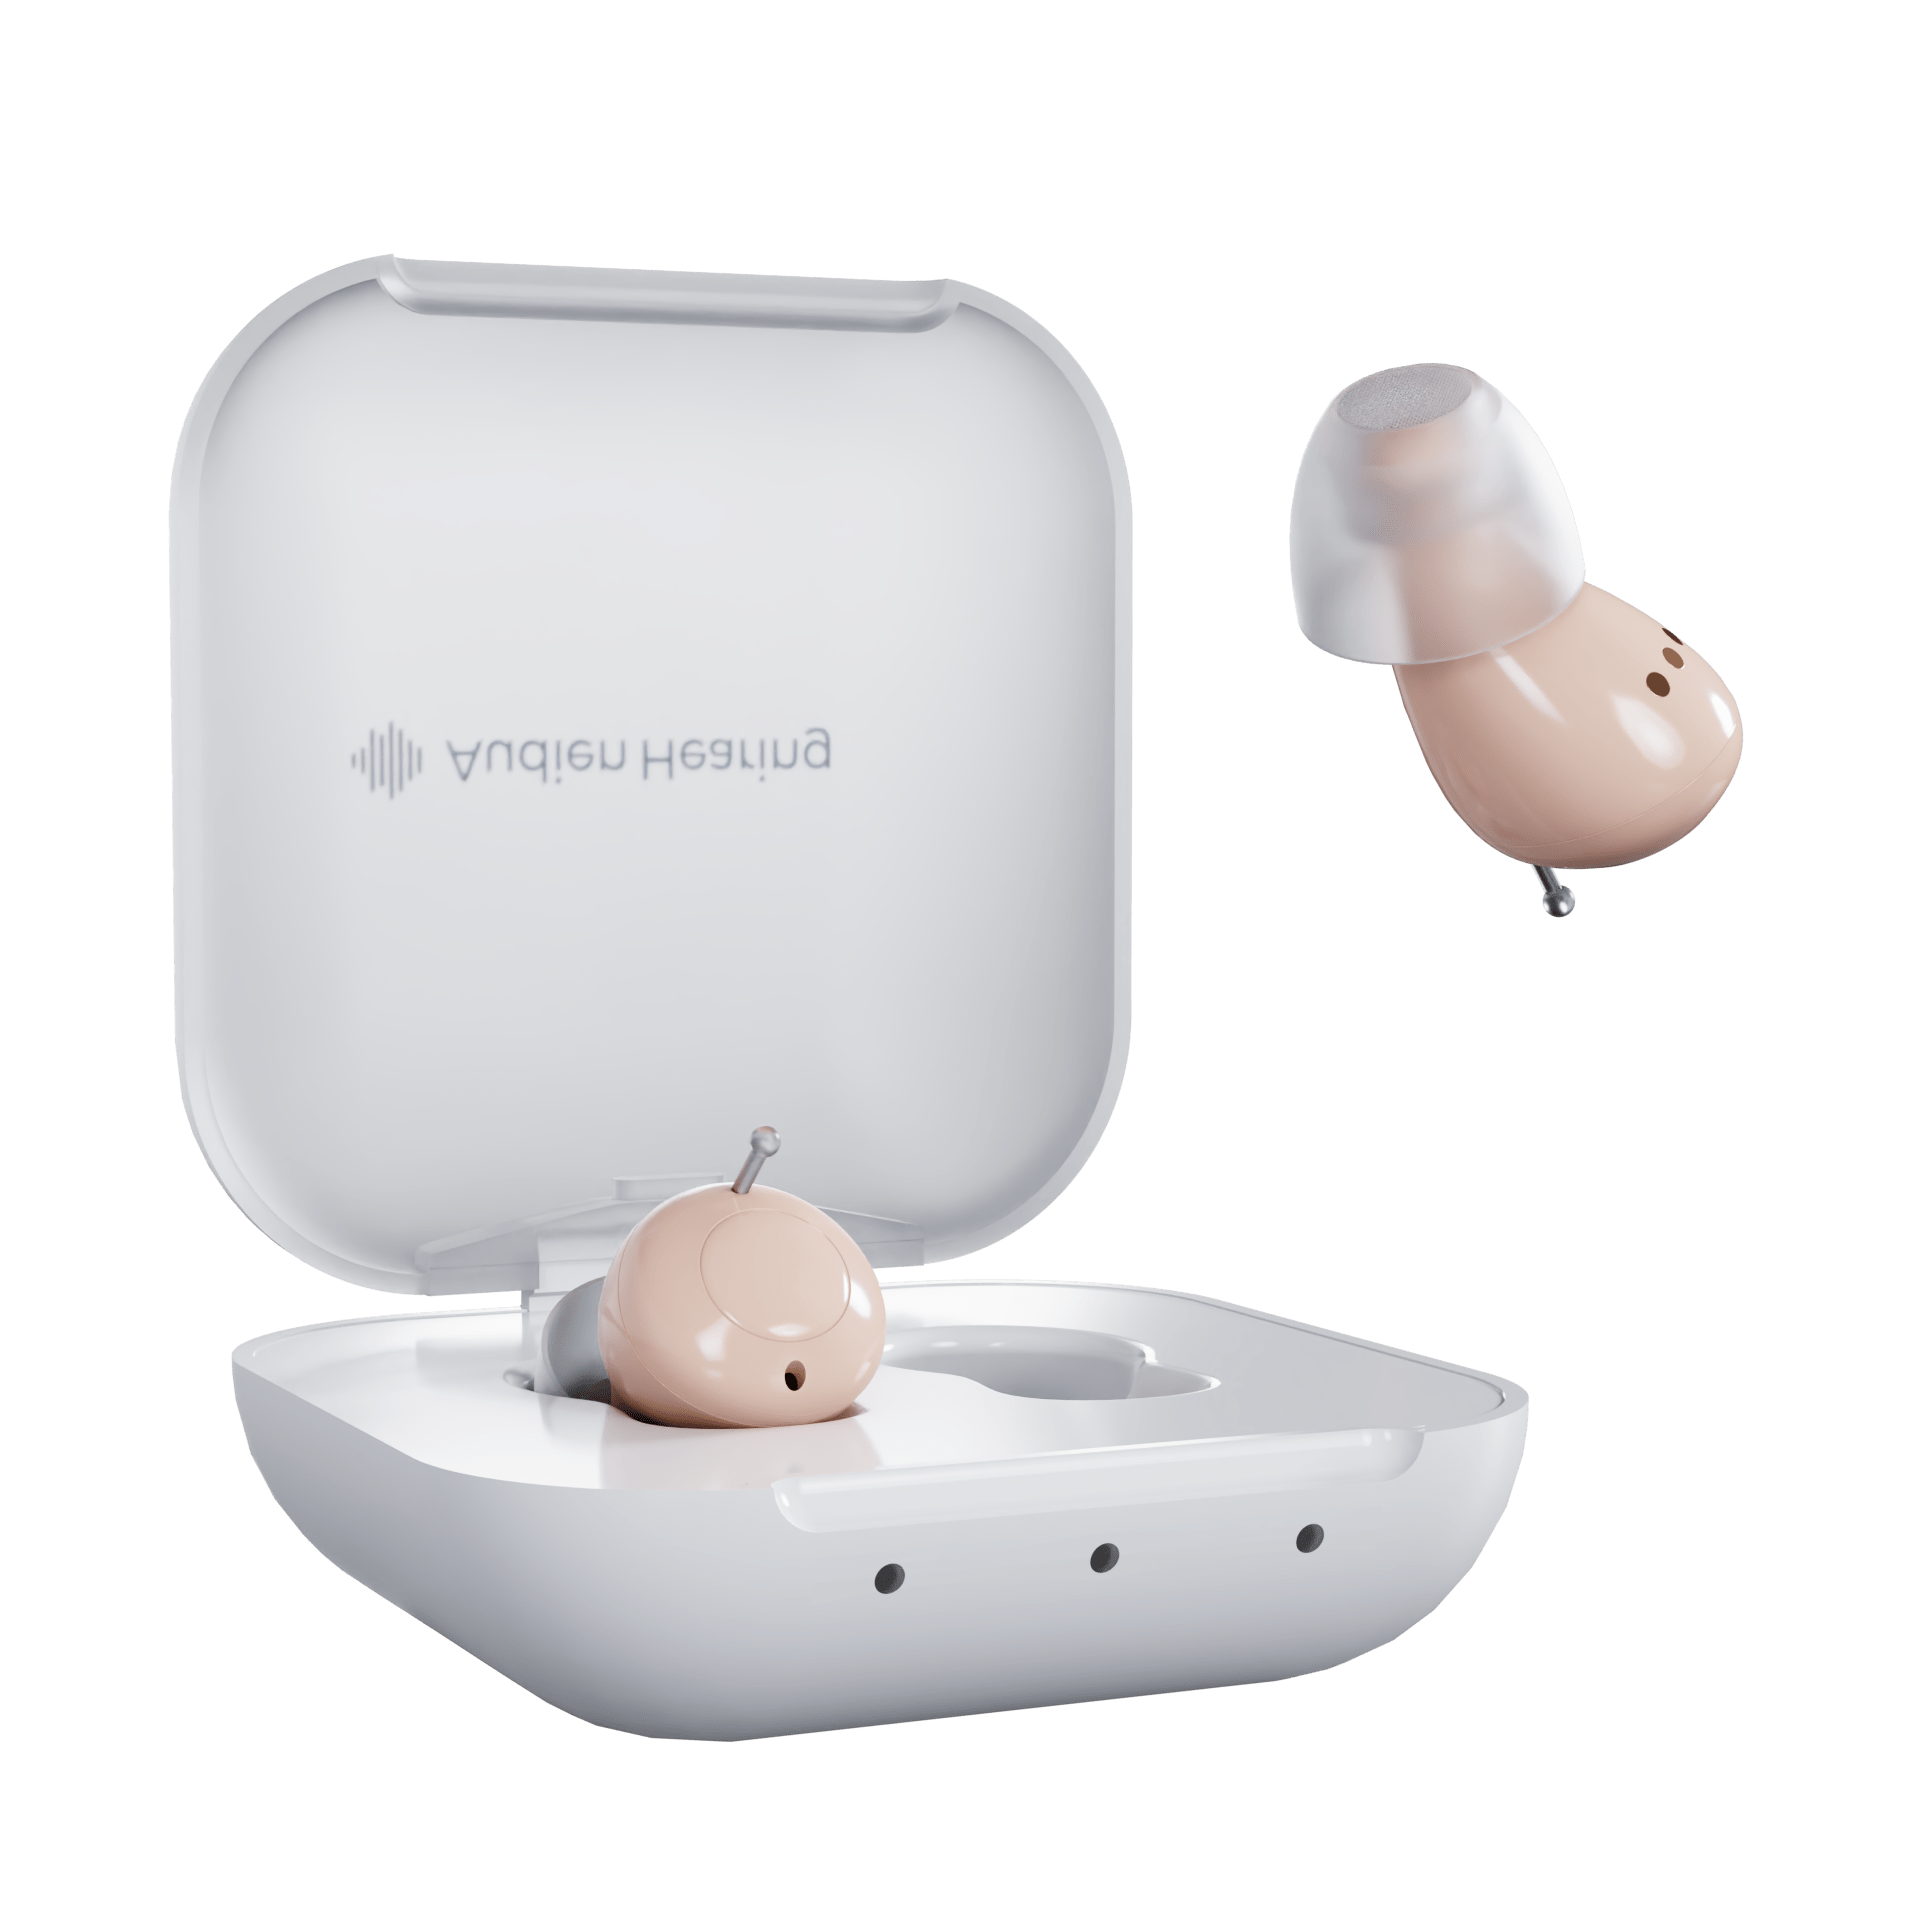
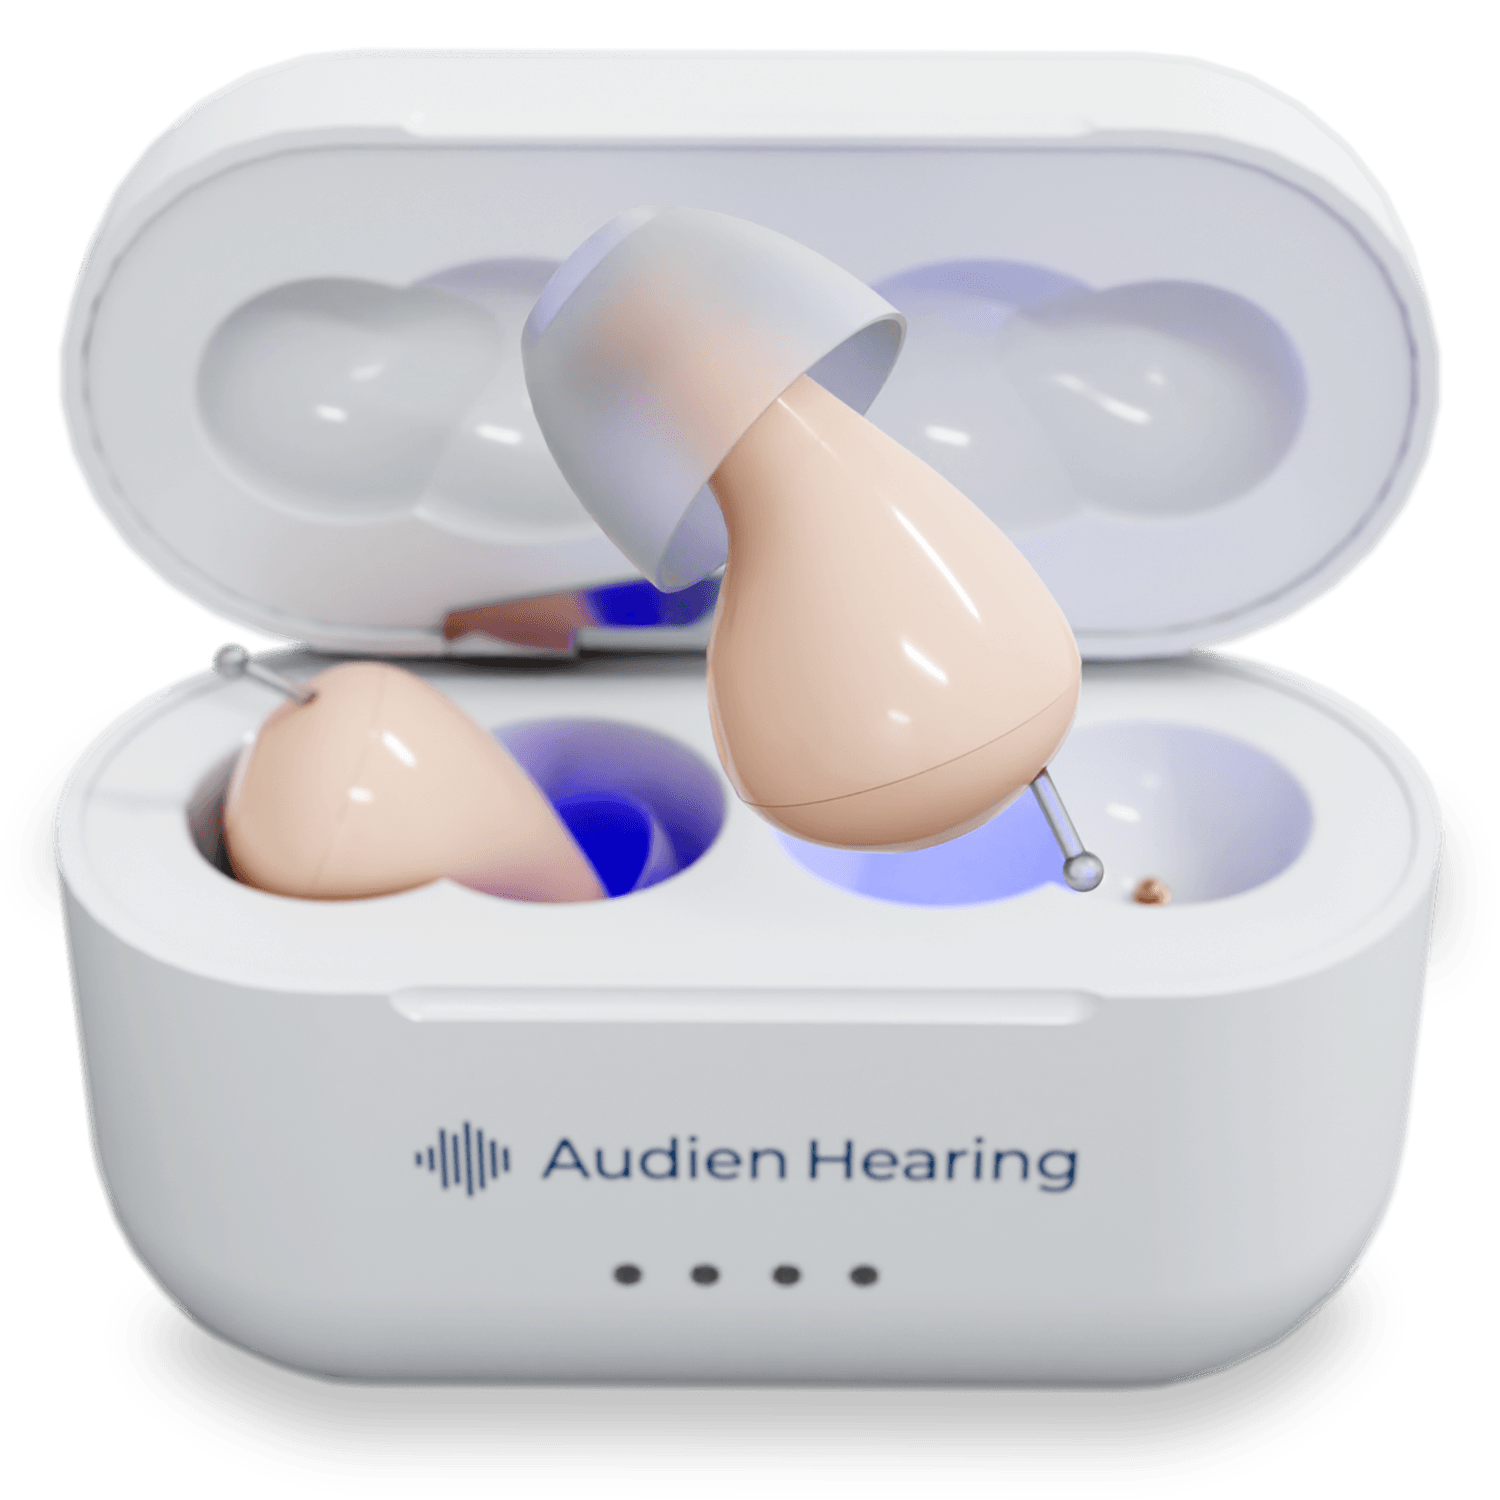
Most hearing aids come with manufacturer recommendations for cleaning and care. Many brands include a basic cleaning kit with purchase. For instance, our EV1 and EV3 both include cleaning tools and simple maintenance instructions to help users care for their devices.
If you didn’t receive a cleaning kit, or you acquired your hearing aids second-hand, don’t worry — most of the tools you’ll need can be found in your own bathroom! For daily maintenance, all you really need is a soft, lint-free cloth (such as a microfiber cloth) and a small brush. This could even be a clean, dry toothbrush.
Some manufacturers may offer device-specific sprays, but you should only use a cleaning agent if it is explicitly recommended for your hearing aid.
Types of Hearing Aids

Hearing aids come in a variety of sizes and styles, each with different care considerations.
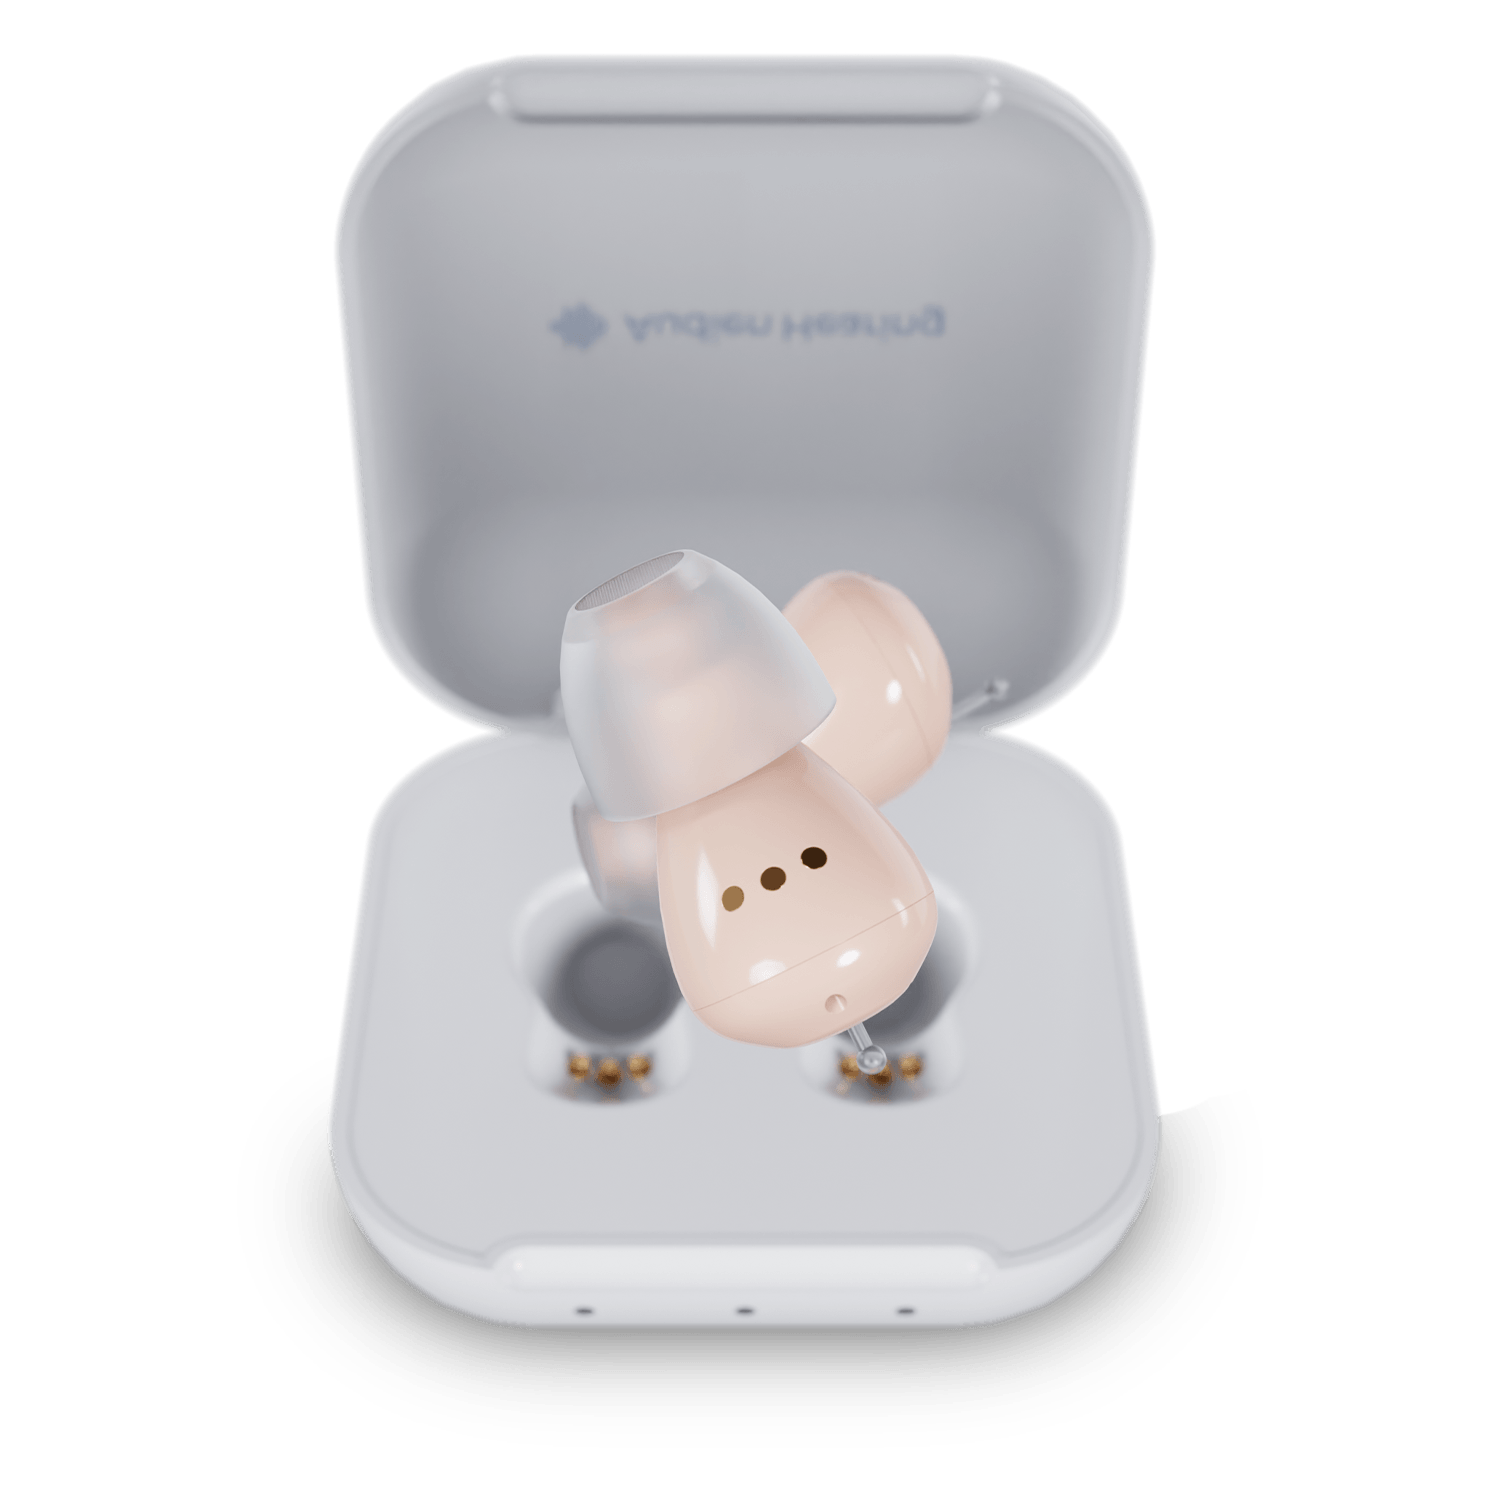
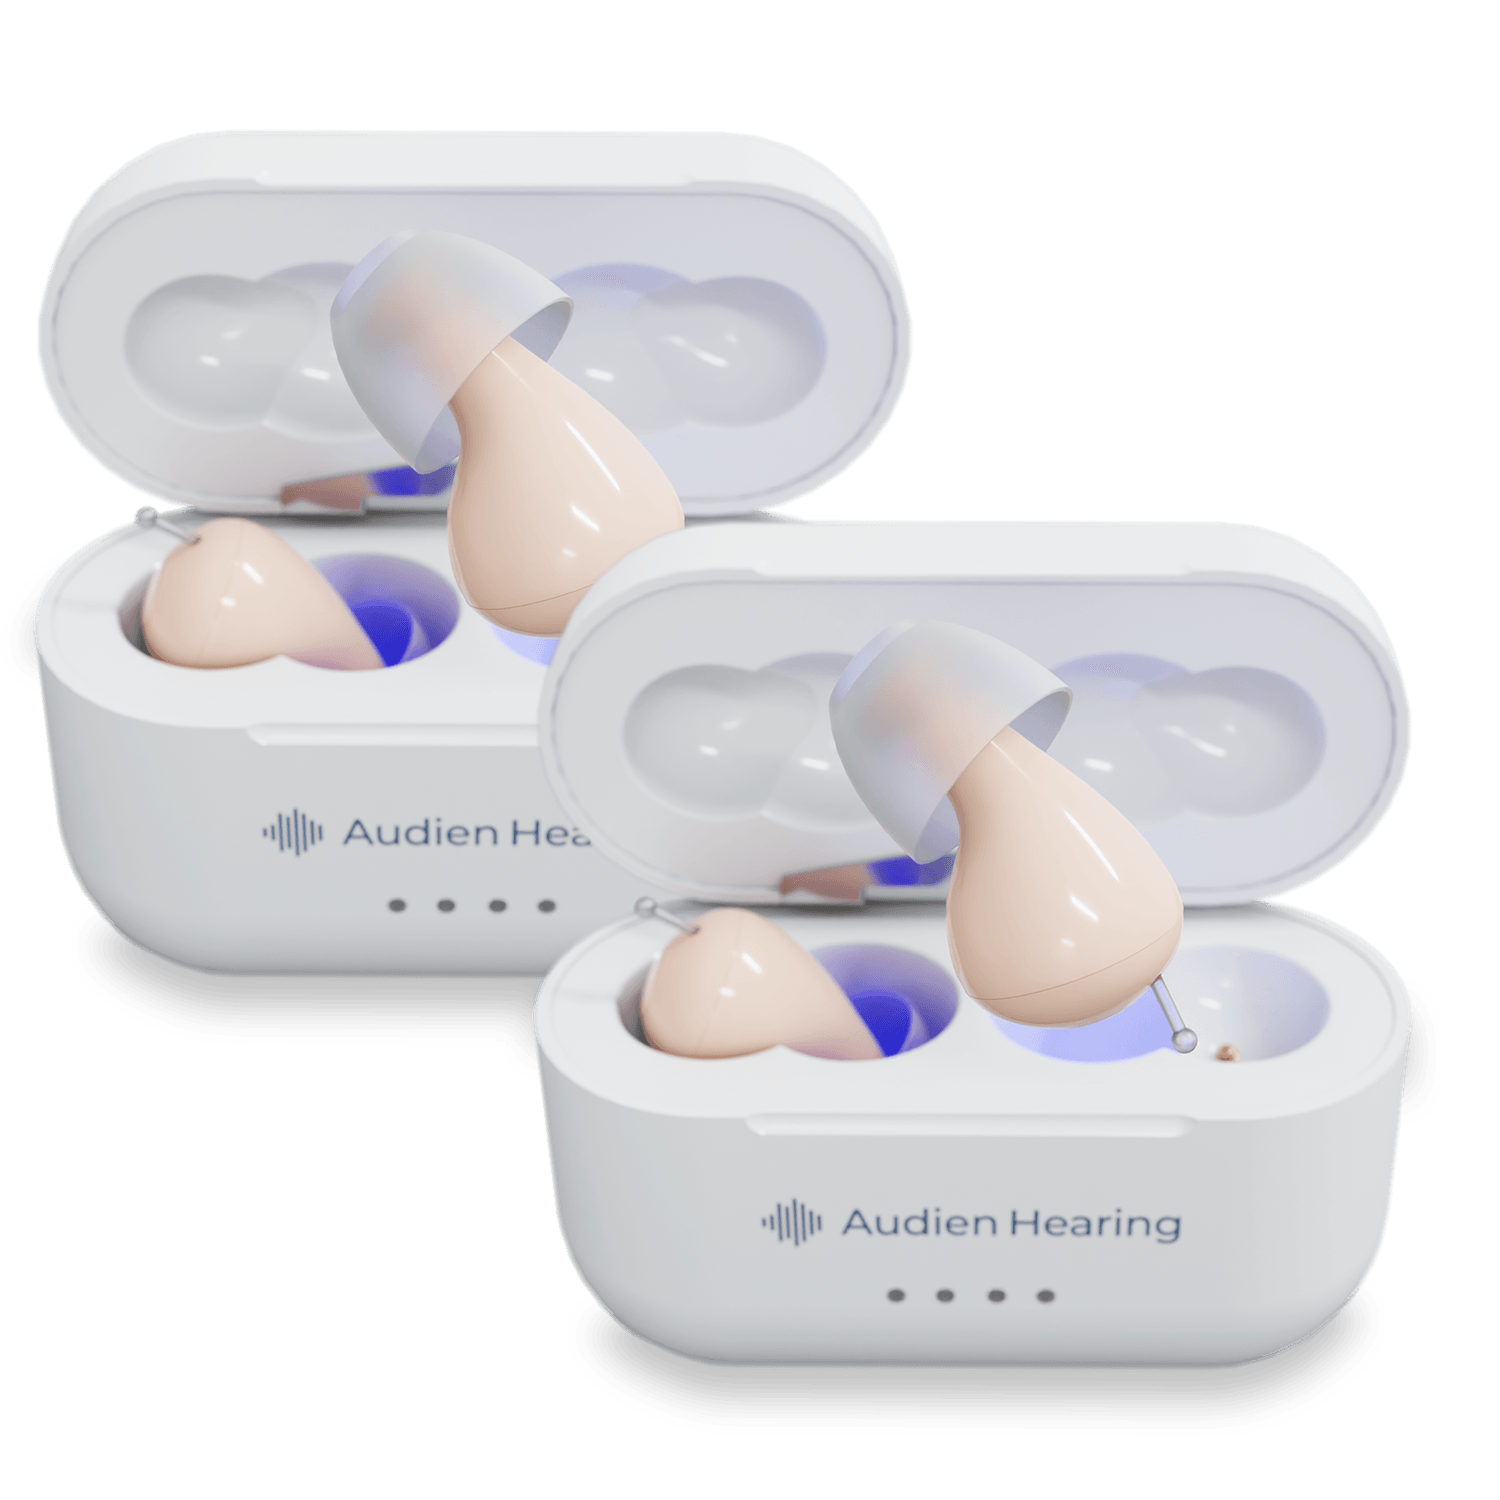
If you have mild to moderate hearing loss and want a discreet option, you may benefit from a completely-in-canal (CIC)or invisible-in-canal (IIC) hearing aid. These are among the smallest hearing aid styles and fit deep within the ear canal. They’re subtle and unobtrusive, but their small size also means less room for advanced features or larger batteries. As a result, they may not be suitable for individuals with more significant hearing loss.
The two broad categories of hearing aids are:
-
Behind-the-ear (BTE) and receiver-in-canal (RIC/RITE) styles
-
Custom in-ear styles, such as ITE, ITC, CIC, and IIC
Cleaning Behind-the-Ear Hearing Aids
BTE hearing aids may have the receiver or microphone either in the ear canal (RIC) or inside the hard case that sits behind the ear. These devices usually have three parts: a hard case, a tube or wire, and a dome or earmold that fits in the ear.
Because of their multiple components, BTE and RIC hearing aids require more detailed cleaning. The tubing and receiver can be particularly sensitive to pressure.
Start by using your microfiber cloth to gently clean the casing and tubing. Handle the device with care, rubbing it lightly to remove any surface debris.
The part of the device that sits in the ear canal (e.g., the dome or earmold) is the most exposed to moisture and wax and therefore needs extra attention. Use your brush to gently sweep away any buildup.
Important: Only use the tips of the bristles — if the bristles are bending, you’re pressing too hard. Gentle, consistent strokes are all that’s needed to remove debris.
Cleaning In-Ear Hearing Aids
For custom in-ear devices — including ITE, ITC, CIC, and IIC styles — cleaning is a similar process, though the design is typically one single unit. These devices often contain all components (microphone, receiver, processor, and battery) within the shell.
Most of these aids also include removable rubber tips or domes, which can and should be cleaned regularly. Some tips are replaceable, but they’re also designed to last a long time with proper care.
Hold the device gently between your fingers, rotating it as needed to access all surfaces. Use your brush to gently remove any buildup. Then, wipe it dry with your microfiber cloth. Because these devices sit deeper in the ear, they’re more likely to encounter moisture and wax buildup — so it’s essential to clean them thoroughly and ensure they’re dry before storing.
Conclusion
Hearing aid maintenance is essential to protect your investment and ensure reliable performance. With just a few household items and a gentle touch, you can build a cleaning routine that keeps your hearing aids working their best.
Whether you use a cleaning kit or a toothbrush and cloth, the most important thing is consistency. Clean them gently, keep them dry, and store them safely — and your hearing aids will thank you.
“Maintenance for hearing aids improves their useful lifespan and can be helpful for better everyday use.” — Drew Sutton, MD, Board-Certified Otolaryngologist
Source:
Hearing loss - Symptoms and causes | Mayo Clinic
